Are you a newbie? This article and the instructions are for you.
You have installed WordPress. Working with this as it is an open source. But you are facing problems while using it. The sections of WordPress are so cool to set. Besides WordPress settings will secure and optimize your site. So let’s notify you with the following checklist.
Sections of WordPress settings
Once WordPress has installed, there will seem some necessary settings. These divide into three sections.
1. General settings
2. Intermediate settings and
3. Advanced settings
General settings in WordPress
Today’s’ article will help the beginners as a guide. The ensuing are the general settings in WordPress. This section will teach you the appropriate settings and why you need these.
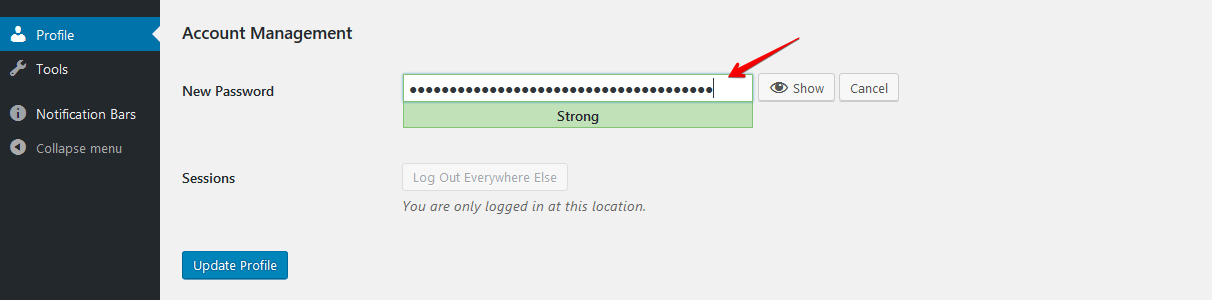
Reset installation password
This is the first step after installing WordPress. Reset installation password will secure your account. Also, make your site vulnerable by avoiding the hacking problem.
Reset your password in this way-
-
Login to WordPress Dashboard
-
On the left sidebar, press Users -> Your Profile
-
Generate Password -> create New Password

-
The advisable password is strong and Copy -> Save
LastPass is an alternative password generation software. Download it and let it generate strong site password.
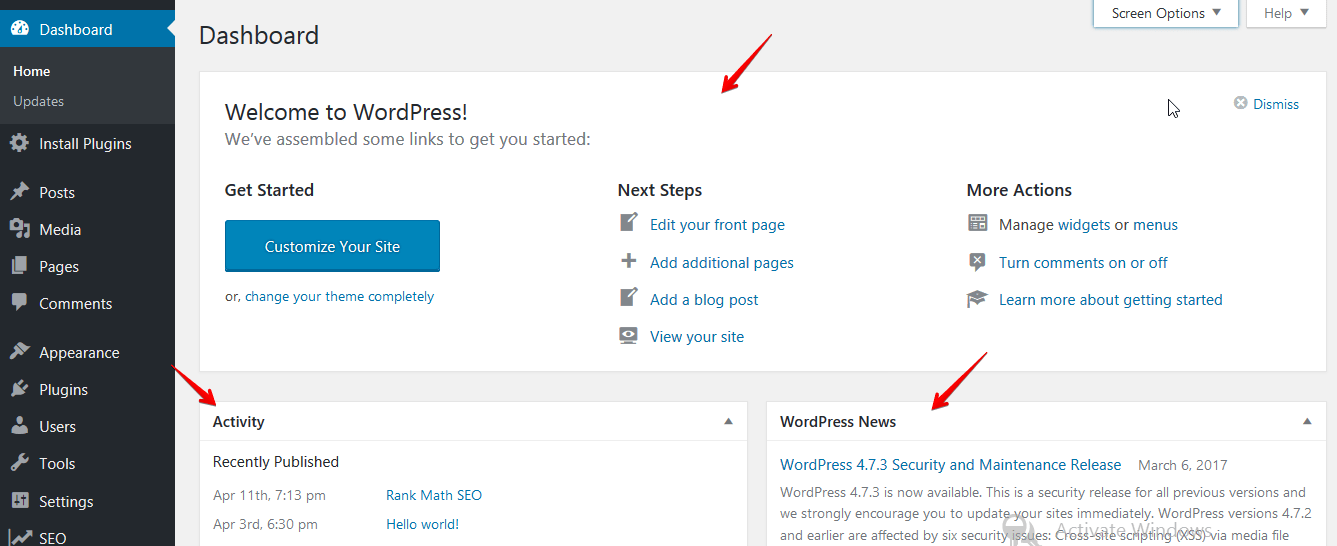
Fresh WordPress dashboard
Welcome to the WordPress Dashboard. The second step is to create a fresh dashboard. Some unnecessary dashboard widgets and plugins together bundle up in WordPress cPanel software. So clean them from the dashboard.
-
Click on Dashboard > Screen Options on the top right corner
-
After clicking on Screen Options, a drop-down will appear

-
The top right sidebar will show Welcome and uncheck it

Hide the unnecessary widgets through this settings. This will avoid confusion for beginners.
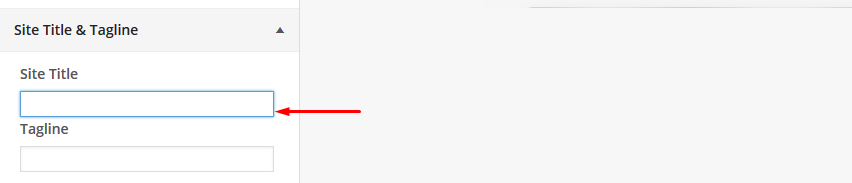
Setup website title
Before setting the tagline set website title first.
-
Move to Settings > General Settings
-
Type your site title on Site Title box

-
Under Appearance Menu > Customize Sub Menu
-
After the appearance of the customizer, edit the site title
Save the settings after editing. Now the site title will show on your front page.
Set site tagline
A tagline is so important for any website. It represents the website branding and summarizes in it. WordPress has the first tagline “Just Another WordPress Site”. You have to change this tagline as it appears on search results.
-
General Settings > Site Title Settings
-
Type in tagline as have shown below

-
Save the settings. The title tag is now your preferred one.
Now a new title will appear in WordPress search results.
Site address and WordPress address
Edit your site address (URL) and WordPress address (URL). There are two ways- “www” or “HTTP” to edit the WordPress address field in the URL. Depending on this address field, the customers will find you.
To have a different home page based on URL-
-
Go to Settings > General Settings
-
Edit WordPress address and Site address

-
Save the URL addresses
Next, the homepage will show with model URL address.
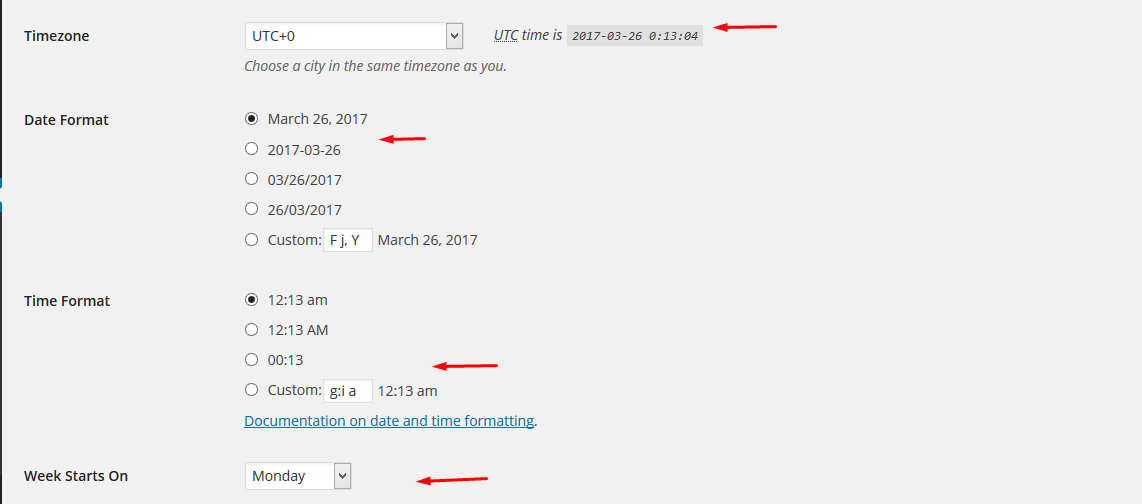
Set the time and date
Want to know time and date while working?
WordPress gives the opportunity. WordPress will inform about weeks, date and time. Follow the process-
-
Fix your time zone from General settings
-
Use date and time format to control date
-
Select the weekday you want to start from
This feature of WordPress is so important for bloggers. Time and date will make the schedules of content to publish in the future.
Membership option
Uncheck your site registration as you can control membership. This option helps to secure your site. Also, the spammers cannot register on your site.

Setup language preference
Don’t you know other languages except your native one?
No problem. WordPress has the option to change languages.
-
Go to General Settings
-
Press on Site Languages box
-
Select one language and save it

Some themes are ready for translation. You can translate blogs in your native languages.
Create new profile content
After fixing WordPress, it is common with “Hello World” post. Delete this pre-maid post and create a new one.
-
Click on All Pages -> All Posts
-
Delete the pages and posts by clicking on the trash

-
Create new profile content
The fresh profile content will perform on your first page.
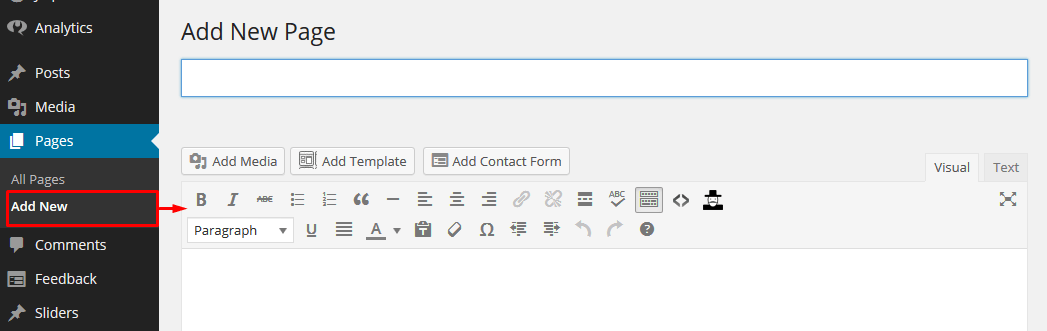
Generate basic site pages
After generating a new page, the above content will appear. So first generate basic site page in this way-
-
Press on Pages -> Add New
-
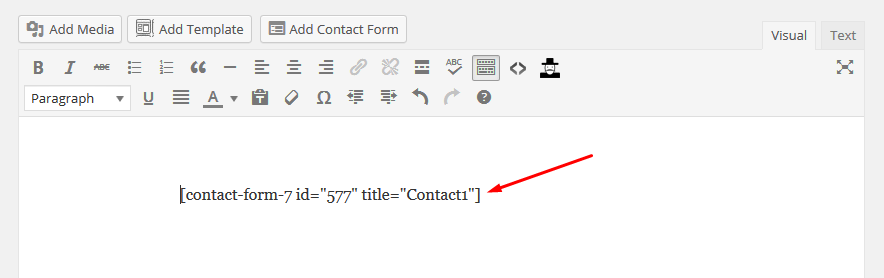
Fill up the page title
-
From the auto installed plugin “Contact Form 7”, add the shortcode
Note that, make a website menu before creating a basic site page.
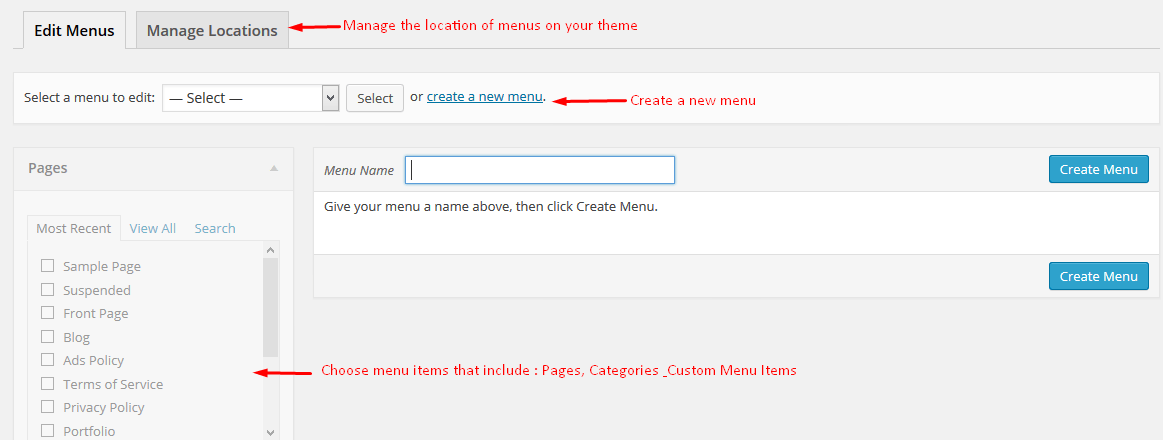
Setup navigation menu
The most important part is to set up the menu. This will support you to control the parts of your account.
-
Navigate to the Appearance > Menus
-
Create a menu and named after “Primary Menu”

-
Add preferred items to the Menu
-
Check pages on the left and click on “Add to Menu”
-
Use drag and drop to reorganize items
-
Select the appearance of Menu using the “Manage Menu Tab”
Save the menu and view it on the frontend.
Hide description after updating plugins
This part is much significant to the newbies. If you do not update plugins, will spam your site. So update the pre-packaged plugins and hide the description.
-
Plugins > check pre-packaged plugins
-
Press on the below like Akismet has in the image

-
Update now and get the upgraded version
-
Go to above Screen Options > hide the description of the plugin

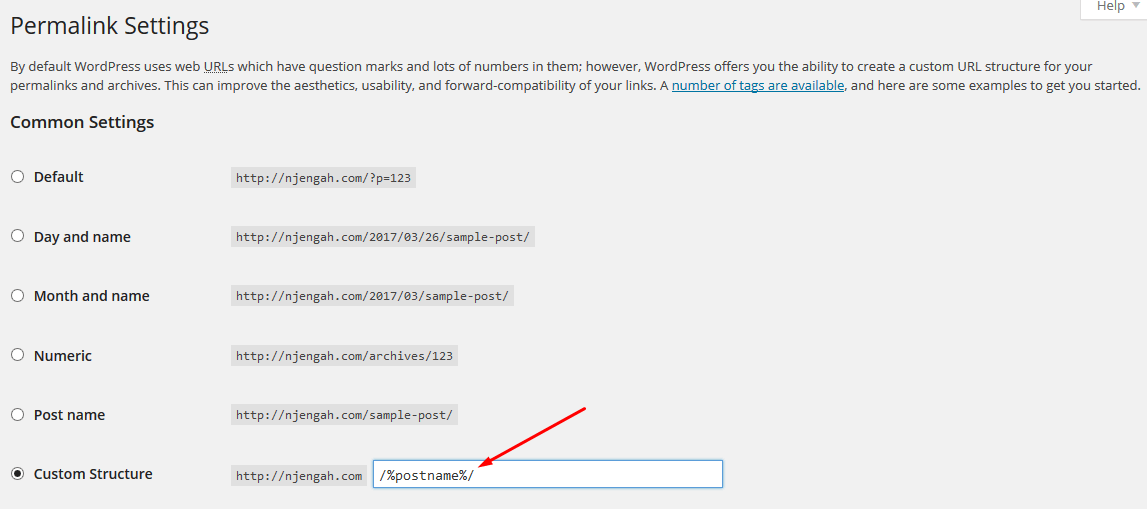
Format permalinks
Setting permalinks is paramount. Why? While publishing posts and pages, WordPress permalinks control website URL.
Default permalinks settings changes into the custom structure.
-
Navigate to Settings > Permalinks
-
Add “/%postname%/” in the custom structure box
-
Include category, post ID and Post name by- /%category%/%postname%/%post_id%/
The permalinks won’t change before publishing contents. Also before publishing the modification to 404 pages.
Update WordPress version
Always try to update with your WordPress versions.
-
Navigating to WordPress Dashboard
-
If there is an updated version, the dashboard will show
-
Press on “Please Update Now” option as in the image

The WordPress associates you with earning money. This one is the easiest Content Management System. So bloggers and web developers feel satisfied with it. Above general settings in WordPress will relief your worries after installing WordPress.
Follow those and leave comments if you face any problem.